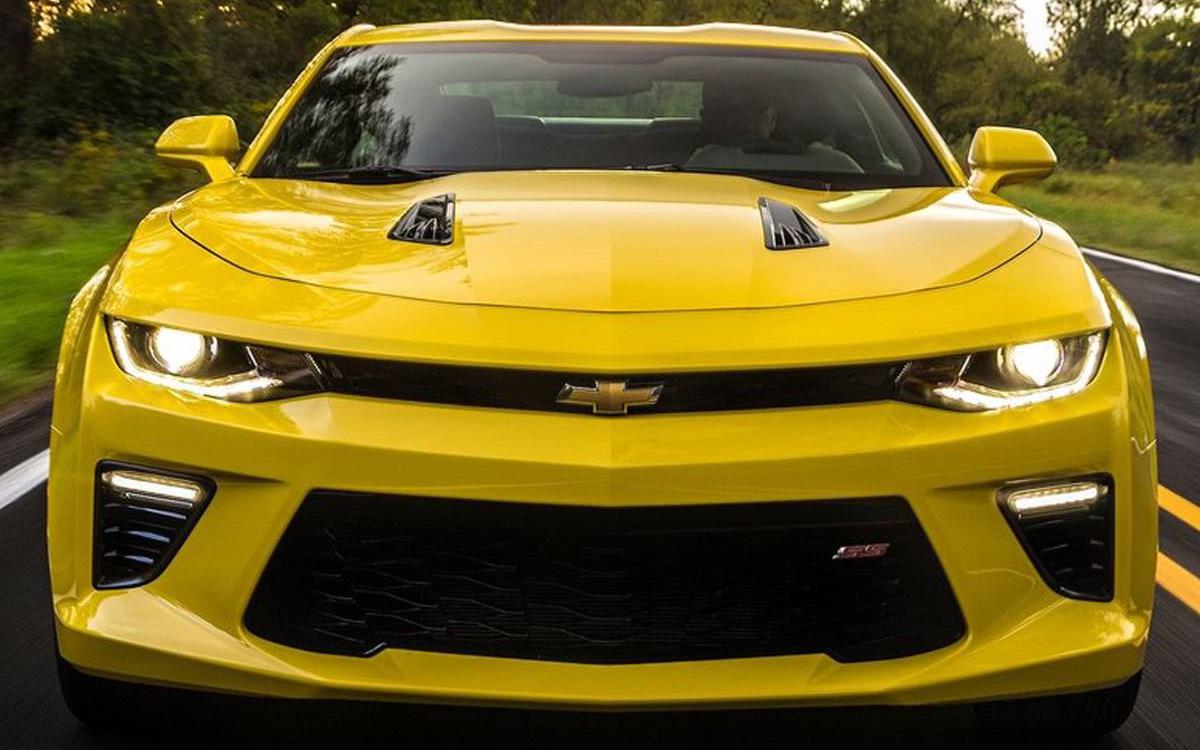
In this post, I’m going to visualize working with arrays. for that, we will play with a Camaro car image and try to manipulate it and create new images!
Let’s get into it!
First, let’s start by importing all the functionalities that we require.
import numpy as np
from skimage import io
import matplotlib.pyplot as plt
In the next step, we will import the image that we are going to work on. The image will be in the form of a Numpy array as images in a digital sense are just a series of numbers representing the intensity of each pixel. In a color image, we have intensity values for each of the three color channels red, green, and blue (RGB).
camaro = io.imread ("camaro.jpg")
print(camaro)
Let’s take a look at the structure of our image.
camaro.shape
It has a shape of 1200 rows and 1600 columns of pixels showing that our picture is wider than it is tall. Also, it is a three-dimensional array as it shows a color image.
Now, let’s check our Camaro image:
plt.imshow(camaro)
plt.show()
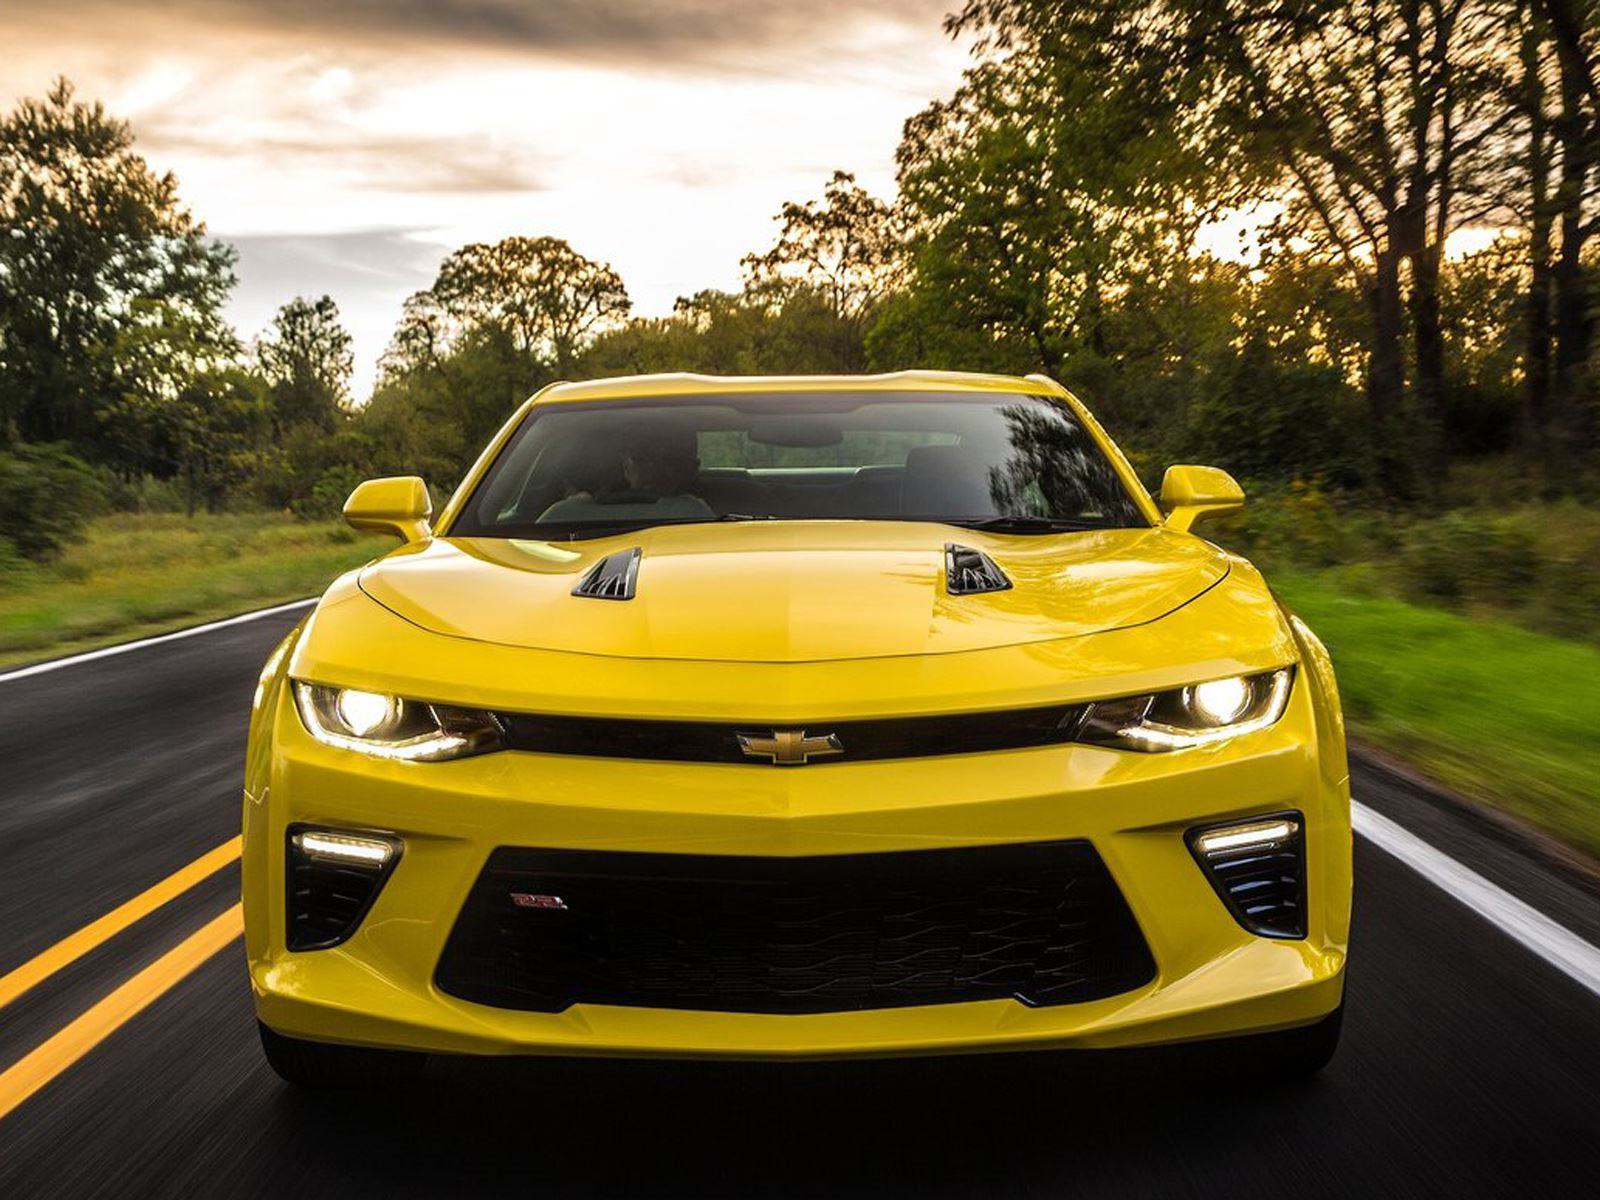
Here, we want to slice the array to crop our image and keep the car only.
cropped=camaro[350:1100,200:1400,:]
plt.imshow(cropped)
plt.show()
Then, we save our image before proceeding to the next step.
io.imsave('camaro_cropped.jpg', cropped)
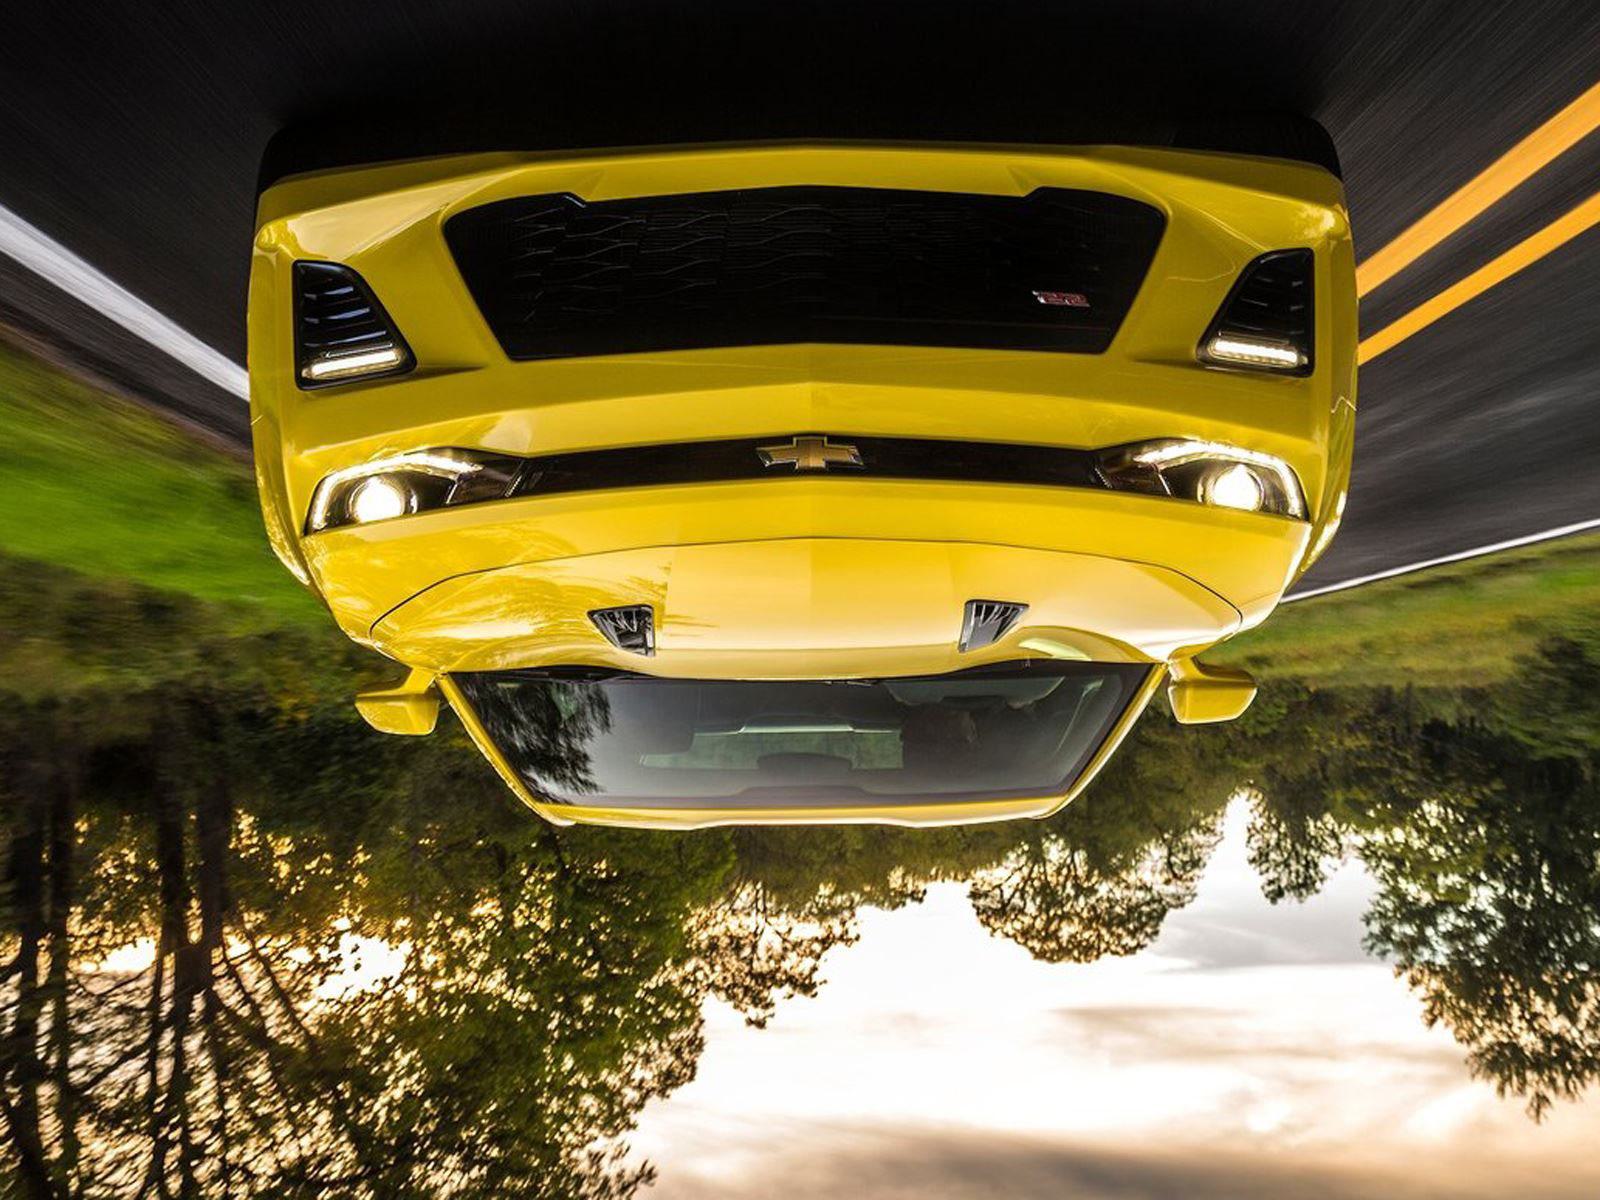
We’re going to vertically and horizontally flip our image to get familiar with another toolkit.
vertical_flip=camaro[::-1,:,:]
plt.imshow(vertical_flip)
plt.show()

io.imsave('camaro_vertical_flip.jpg', vertical_flip)
horizontal_flip=camaro[:,::-1,:]
plt.imshow(horizontal_flip)
plt.show()

io.imsave('camaro_horizontal_flip.jpg', horizontal_flip)
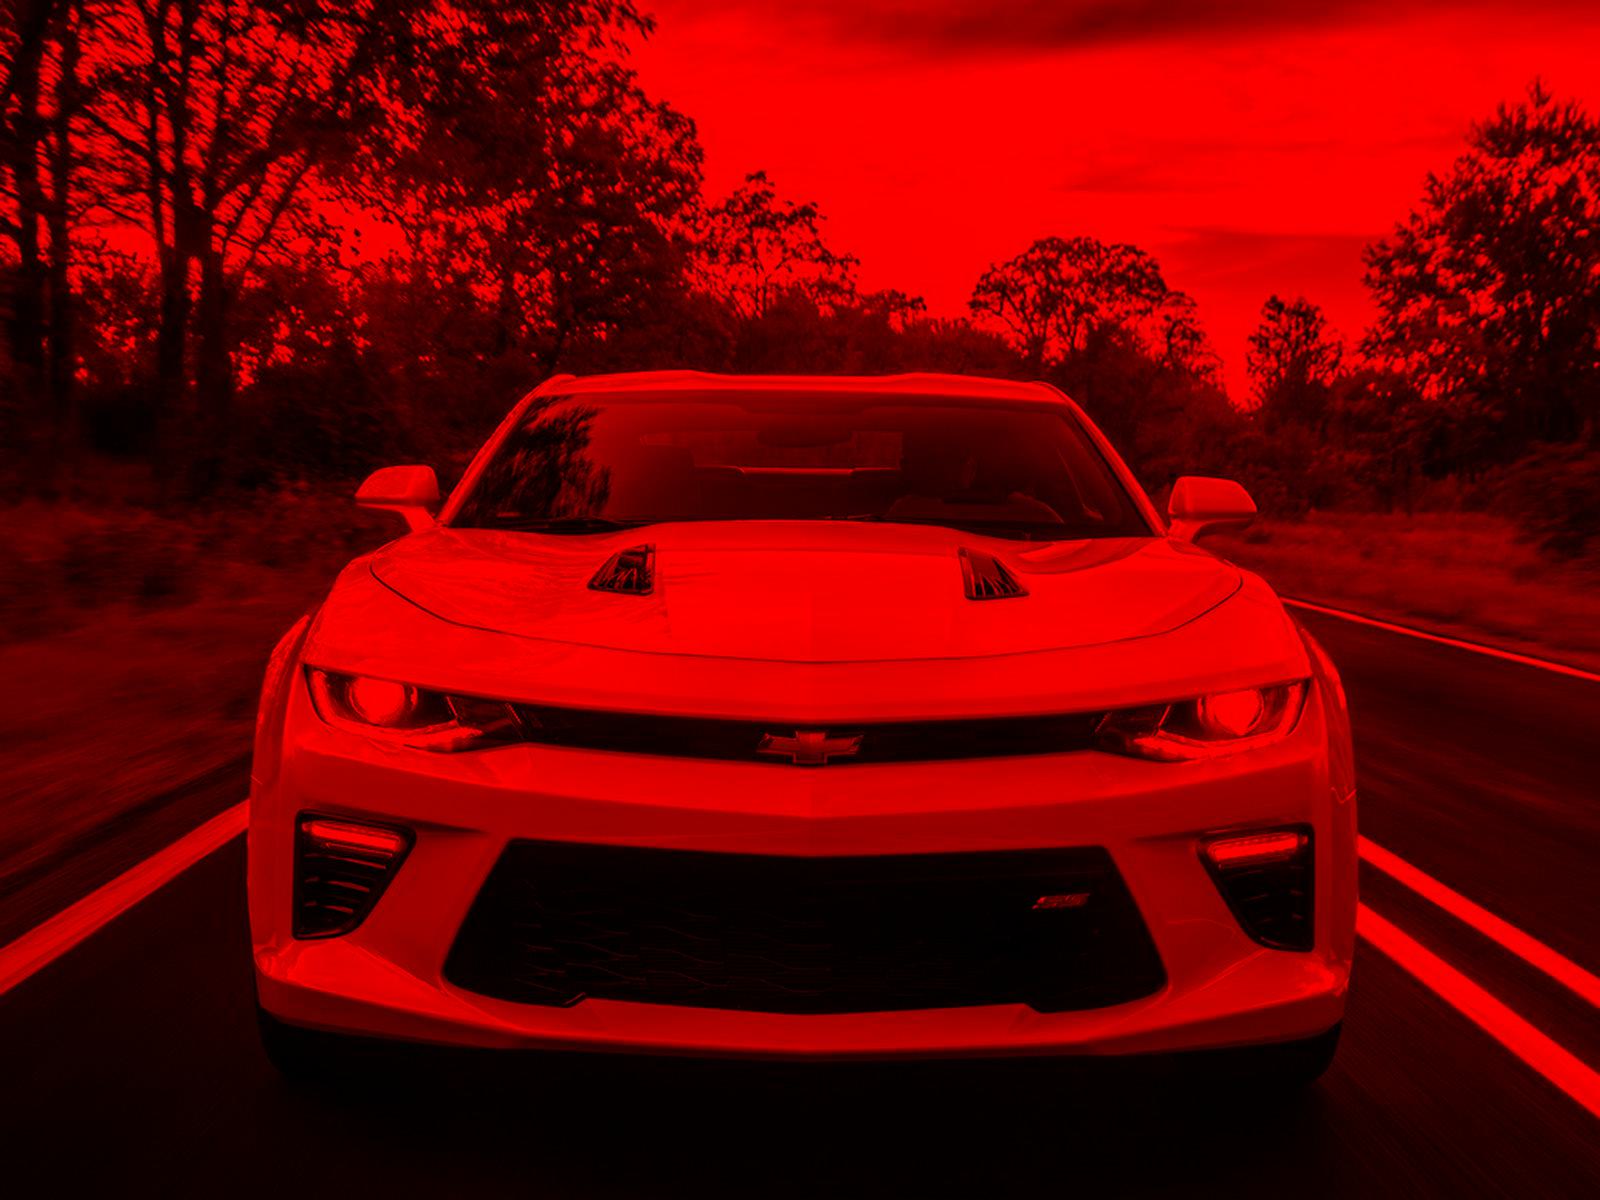
There is a method that shows us our image with different color channels. We extract the red, green, and blue versions of our image by zeroing out the other color channels instead of cropping them. For that, we create an array of zeros which is the same size as the Camaro image, and then fill only the desired color channel with the values of the same color from the actual image. The next thing is to ensure that our data type is unit8 which is the type of data we often want when we deal with images in Numpy. Let’s start with the red version of the Camaro image:
red=np.zeros(camaro.shape, dtype='uint8')
red[:,:,0]=camaro[:,:,0]
plt.imshow(red)
plt.show()

io.imsave('red.jpg', red)
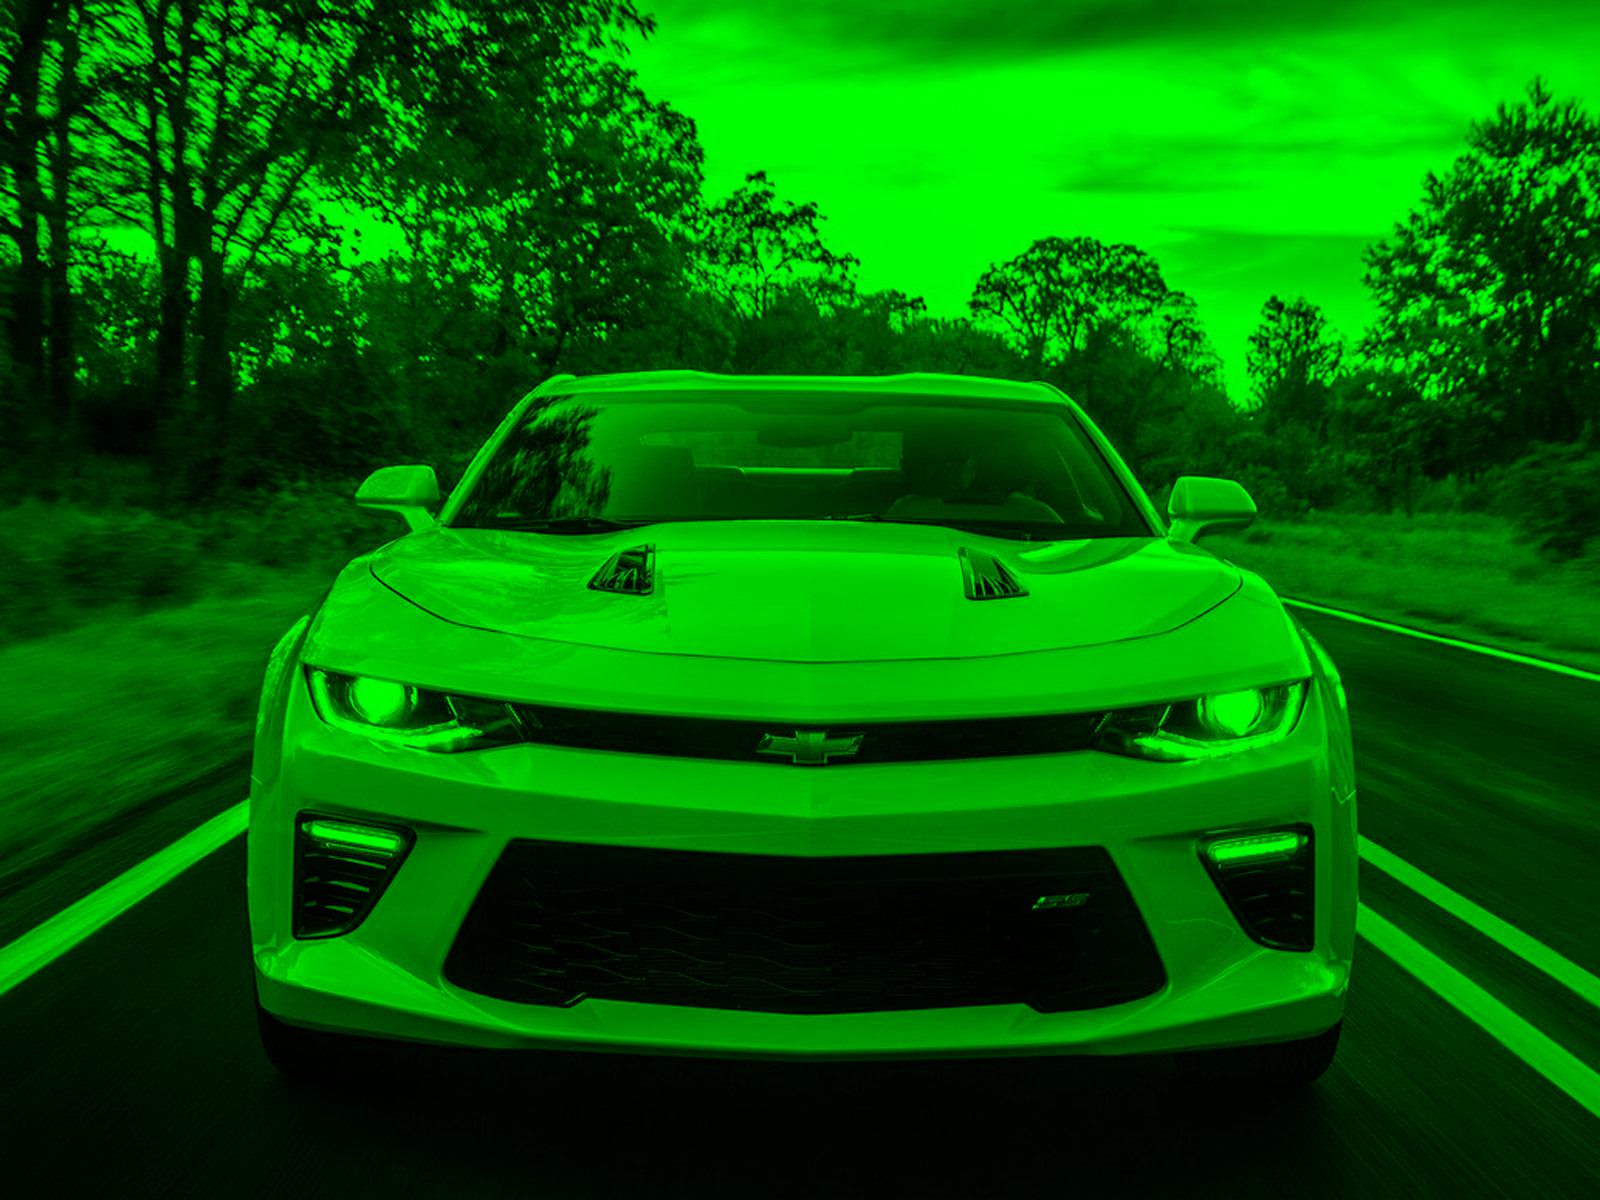
Next, a green version of the image will be created:
green=np.zeros(camaro.shape, dtype='uint8')
green[:,:,1]=camaro[:,:,1]
plt.imshow(green)
plt.show()

io.imsave('green.jpg', green)
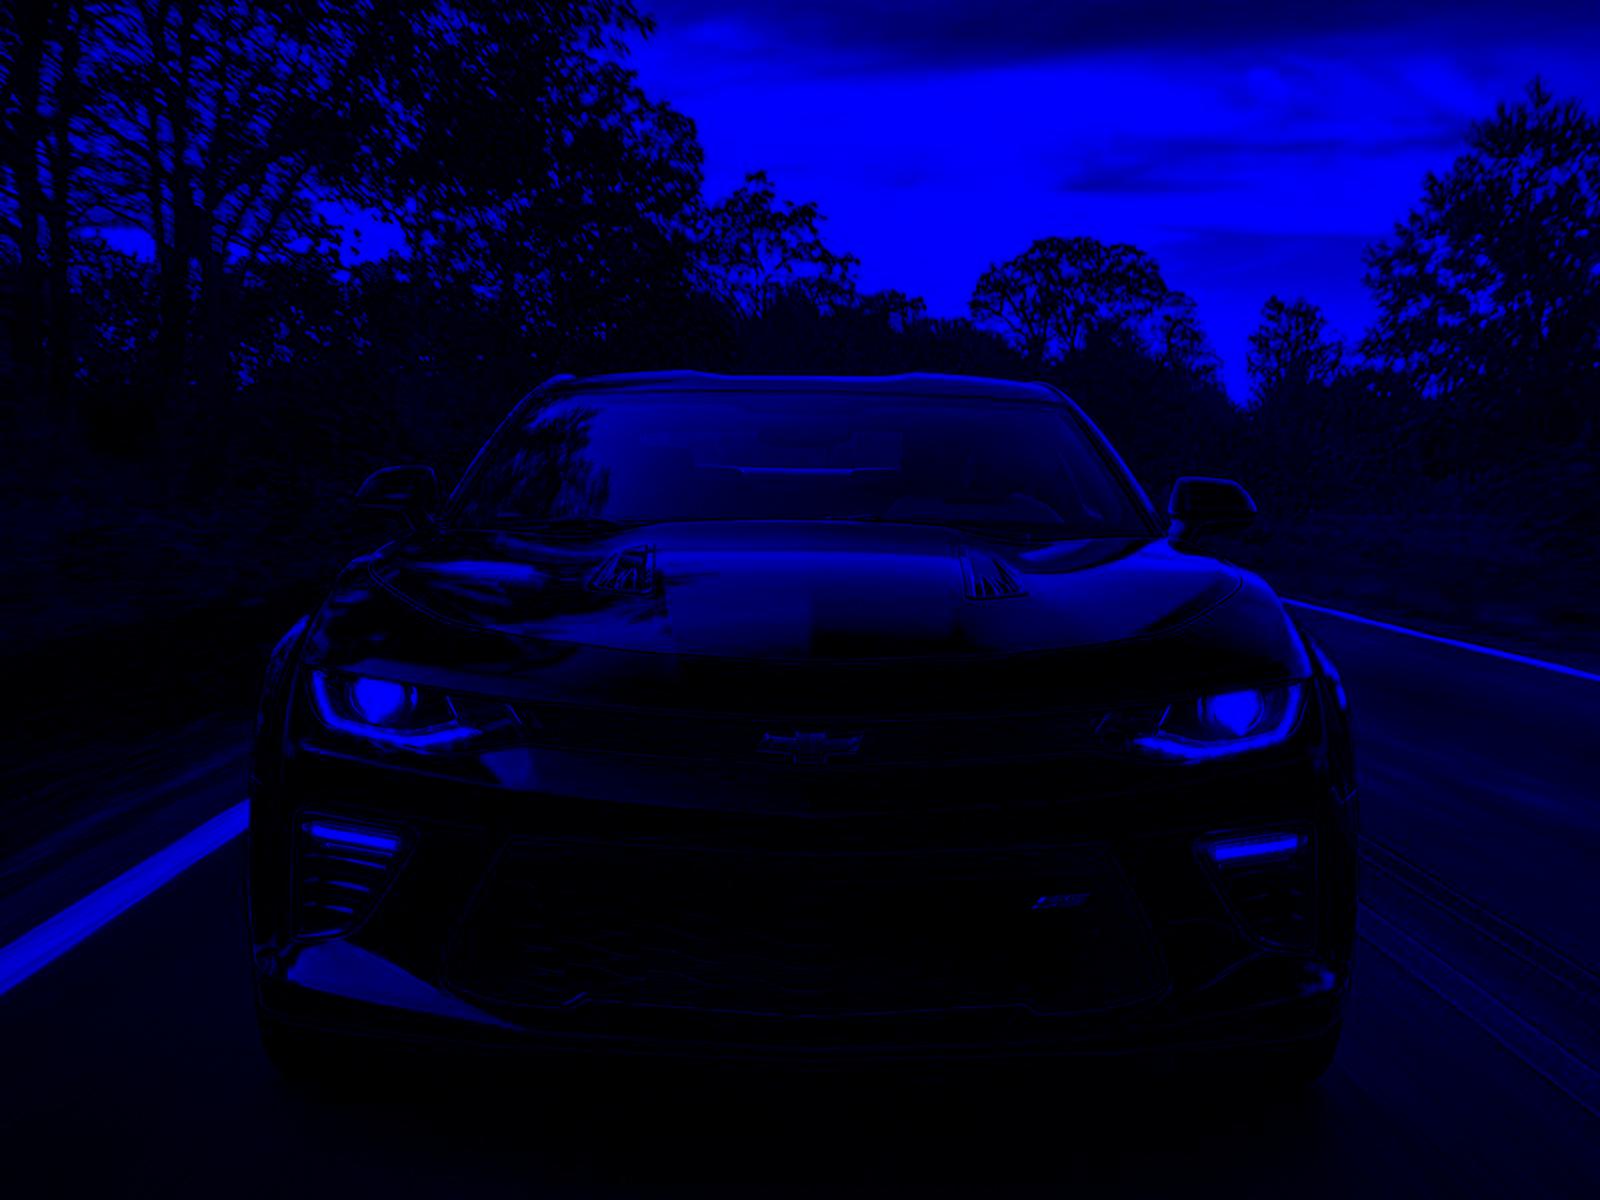
The final image would be the blue version:
blue=np.zeros(camaro.shape, dtype='uint8')
blue[:,:,2]=camaro[:,:,2]
plt.imshow(blue)
plt.show()

io.imsave('blue.jpg', blue)
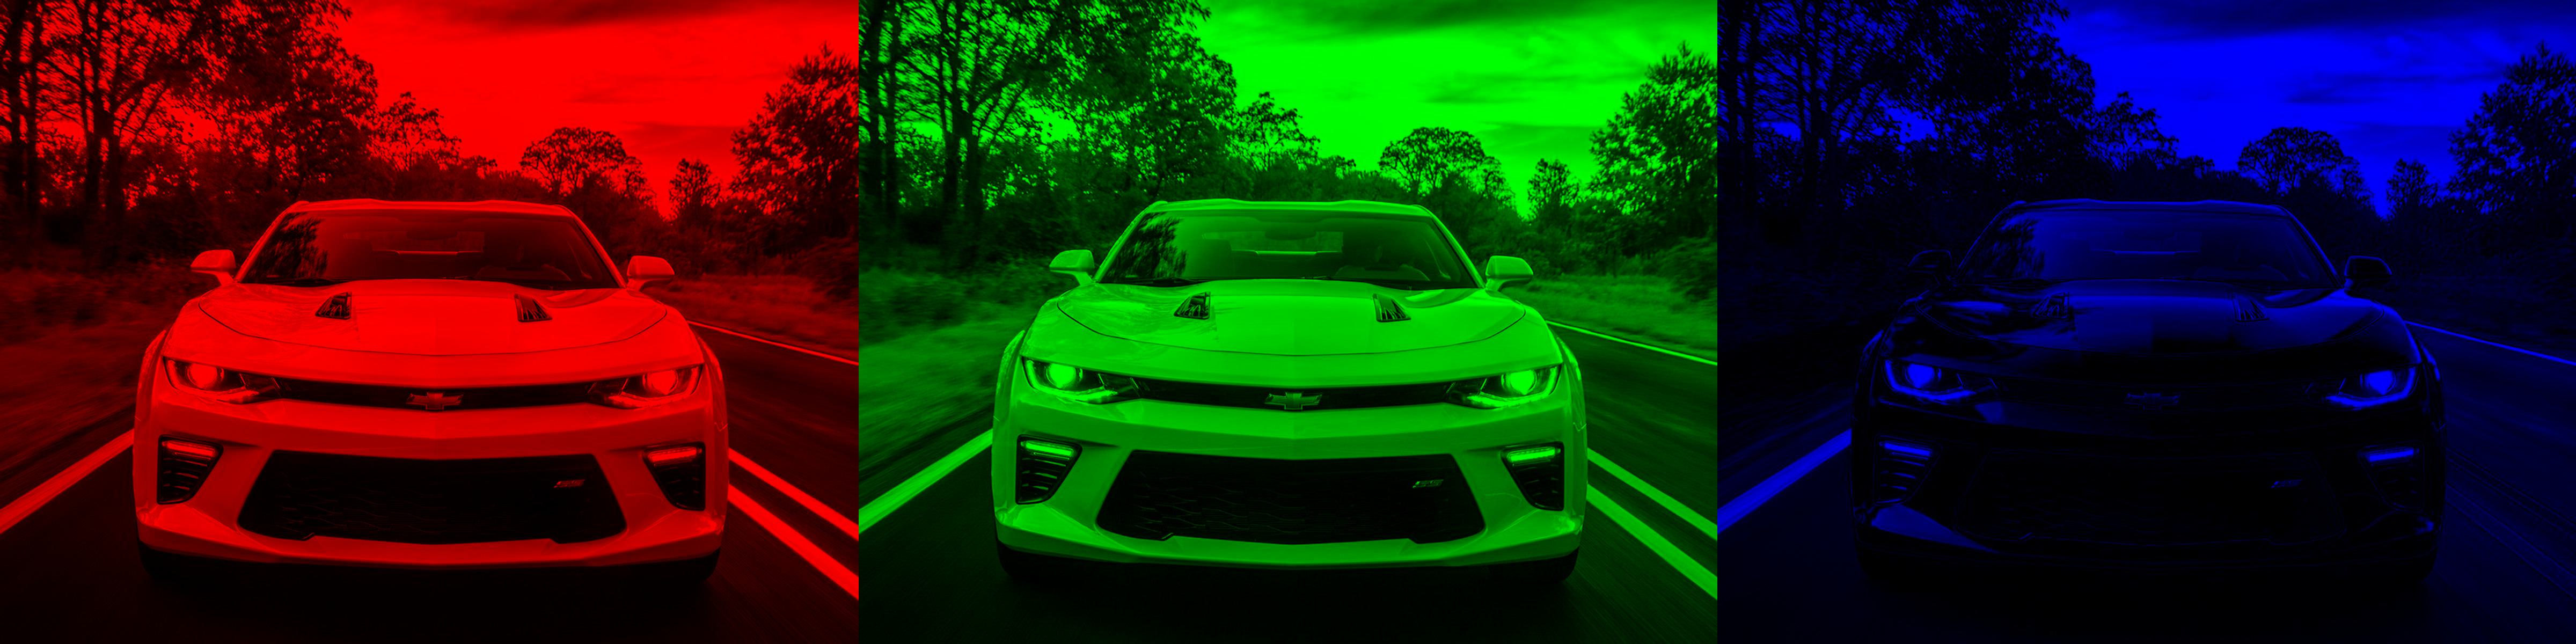
Now, Let’s do something funny. We are going to use the stacking function to horizontally stack our single-color images beside each other.
camaro_rainbow=np.hstack((red,green,blue))
plt.imshow(camaro_rainbow)
plt.show()

io.imsave('camaro_rainbow_hstack.jpg', camaro_rainbow)
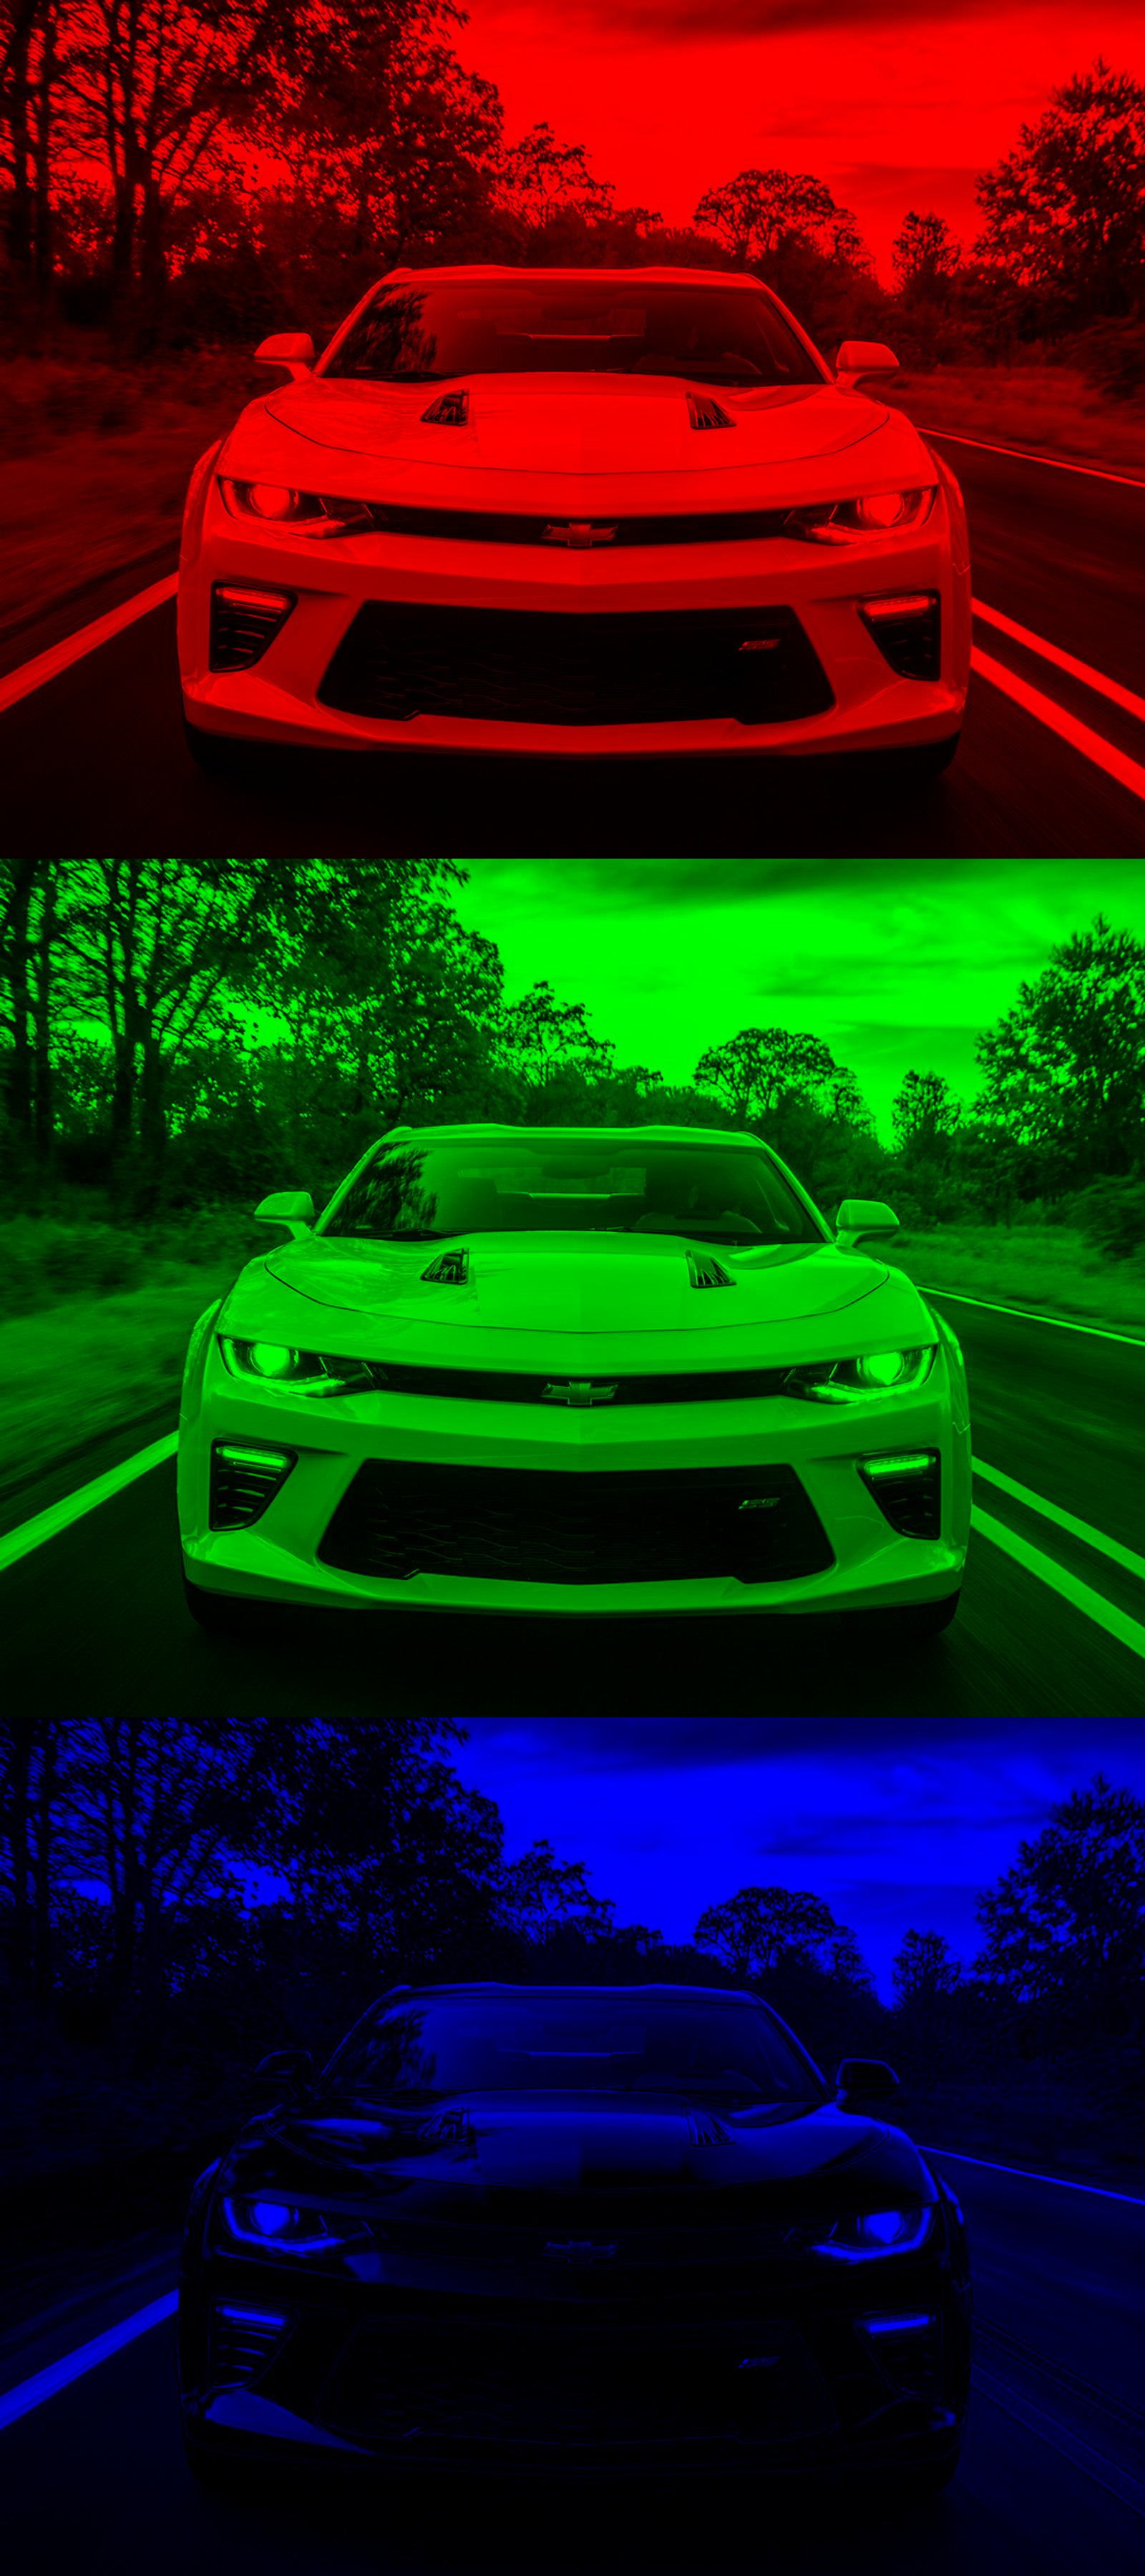
We then will follow similar steps to vertically stack our single-color images on top of each other.
camaro_rainbow=np.vstack((red,green,blue))
plt.imshow(camaro_rainbow)
plt.show()

io.imsave('camaro_rainbow_vstack.jpg', camaro_rainbow)
I think it is so impressive what we can do to images using Numpy alone! Although there are dedicated packages for image manipulation, doing it in Numpy gives a nice visual example of what we are doing when we are working with arrays.